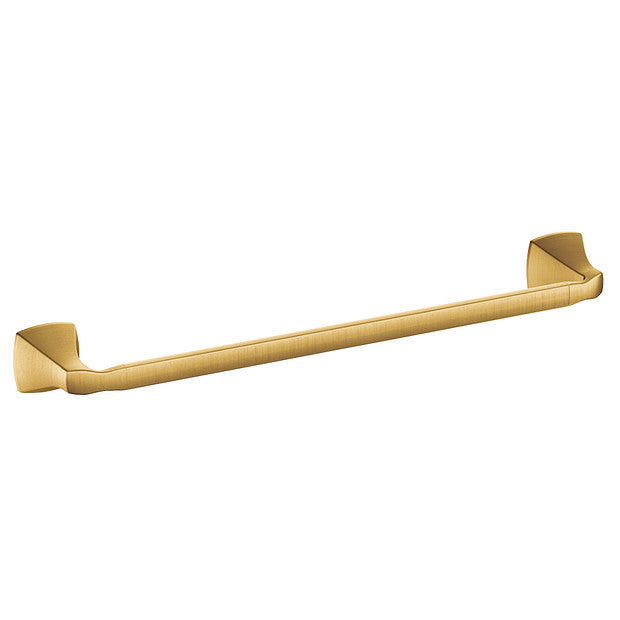
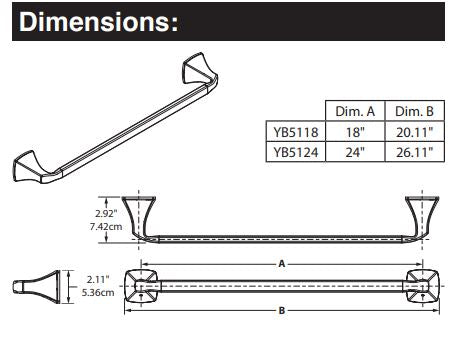
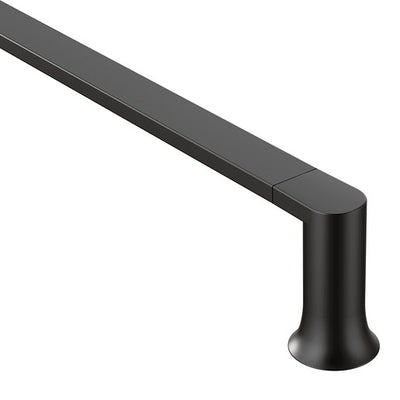
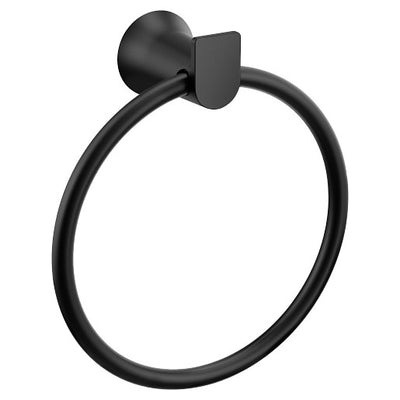
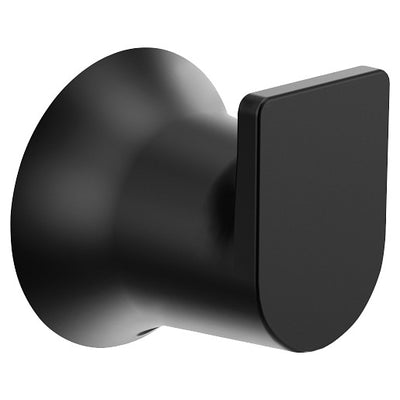
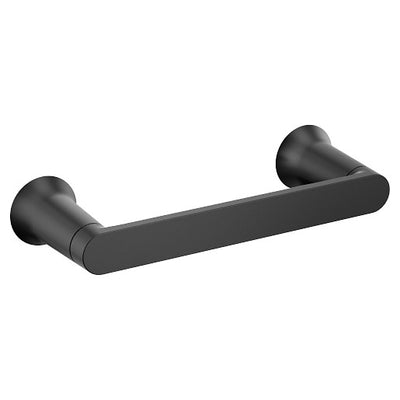
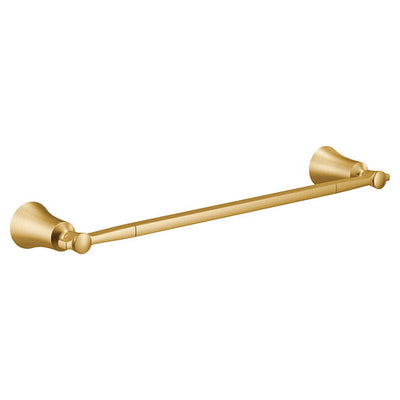
Bath Accessories MOEN Voss Brushed Gold 18 Towel Bar YB5118BG
Pullcast
SKU: YB5118BG
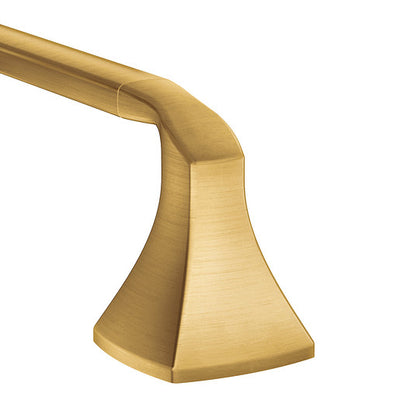
Crisp edges and uncomplicated style features give the Voss collection an ageless, yet fashion-forward, presence. Each silhouette brings a confident Transitional style to the bath.
Materials:
Towel Bar Posts are constructed of zinc
and towel bar is constructed of stainless
steel.
Benefits :
-Brushed gold pairs rich, warm tones with lush texturing for a timeless finish
-Limited lifetime warranty
Installation Instructions:
1. Position the mounting template on the wall in the desired location. Using a level, align
the template and tape it to the wall.
2. Remove each mounting post from the body by loosening the setscrew.
3. Place each mounting post on the template with notch facing down.
4. Mark the 2 large hole locations of each mounting bracket.
5. Attach each mounting bracket to the wall, using the wall anchors provided.
6. Mount each base on the corresponding mounting bracket. Check and make sure that
the base set screw hole(s) are facing down. Assemble a set screw to each base. Use
the allen wrench included in hardware kit to tighten each set screw and secure the
assembly to the mounting bracket(s).
7. Tighten all 4 screws. Do not over tighten.
8. Place each post over the mounting plate (setscrew down). Pivoting post with bar to be
on left side. Tighten both setscrews
Showroom Jakarta : Perumahan Alam Sutera, Jl. Jalur Sutera No.23D, RT.002/RW.006, Panunggangan Tim., Kec. Pinang, Kota
Tangerang, Banten 15143
Showroom Surabaya : Jl. Raya Geluran No.28, Geluran, Kec. Taman, Kabupaten Sidoarjo, Jawa Timur 61257
Instagram : @bottegaartisan


