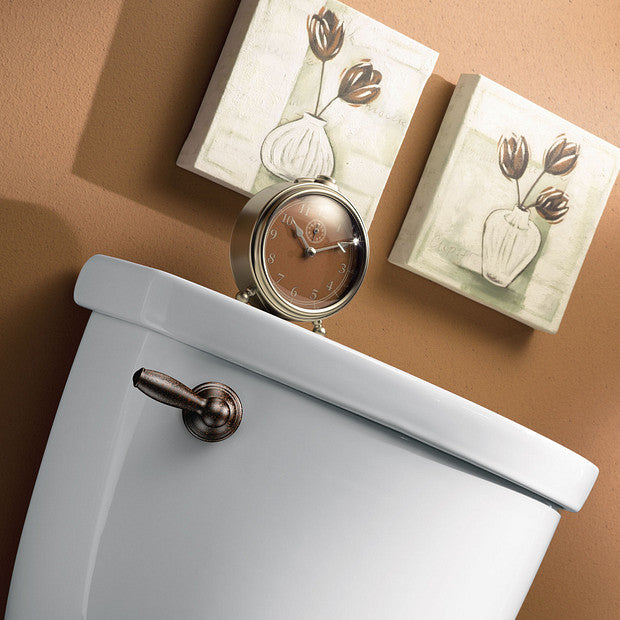
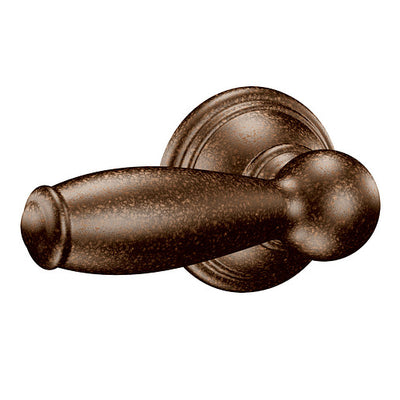
Bath AccessoriesTank Lever MOEN Brantford Oil Rubbed Bronze YB2201ORB
Pullcast
SKU: YB2201ORB
Featuring intricate architectural details that add a look of grandeur to your Bath, the Brantford collection will offer a timeless, elegant appeal to your decor. With each understated detail, Brantford is sure to create an enduring style in your home.
Assembled Dimensions : 25.71 X 6.65 X 10.19
Materials: Tank Lever is constructed of zinc.The arm mechanism is constructed of plastic.
Benefits
-Oil rubbed bronze finish incorporates the warmth of bronze with tumbled light and dark accents, creating an antiqued look
-Pro-fit™ installation system eliminates set screws for faster, more secure mounting
-Installs easily on most toilet styles
-Included template and mounting hardware take the guesswork out of installation
-Corrosion resistant
-Limited lifetime warranty
Installation Instructions:
1. Remove existing tank lever.
2. Remove the arm mechanism from the new tank lever by loosening nut
(A).
3. Unscrew the tank nut (B). The thread for the tank nut is a left handed
thread.
4. Position the new tank lever through the tank hole. The tank lever handle
should be pointing aw ay from the toilet bow l.
5. Tighten nut (B). Depending on the curvature of the tank, there might be a
slight gap betw een the outside of the tank and the base of the lever.
6. Place the arm mechanism on the tank lever post. Adjust the arm up or
dow n as needed. Tighten nut (A) to secure the arm in place.
7. Adjust the arm mechanism from side to side as needed. Make sure the
arm does not come into contact w ith the tank w all or the flush
mechanism. Tighten screw (A) to lock the arm in place
8. Attach the flapper valve chain to one of the provided slots on the arm. Be
sure to eliminate any slack in the chain.
9. Make sure no w ater is leaking through the flapper w hen the handle is in its normal position (not flushing)
Website : www.bottegaartisan.com
Showroom Jakarta : Perumahan Alam Sutera, Jl. Jalur Sutera No.23D, RT.002/RW.006, Panunggangan Tim., Kec. Pinang, Kota Tangerang, Banten 15143
Showroom Surabaya : Jl. Raya Geluran No.28, Geluran, Kec. Taman, Kabupaten Sidoarjo, Jawa Timur 61257
Instagram : @bottegaartisan


